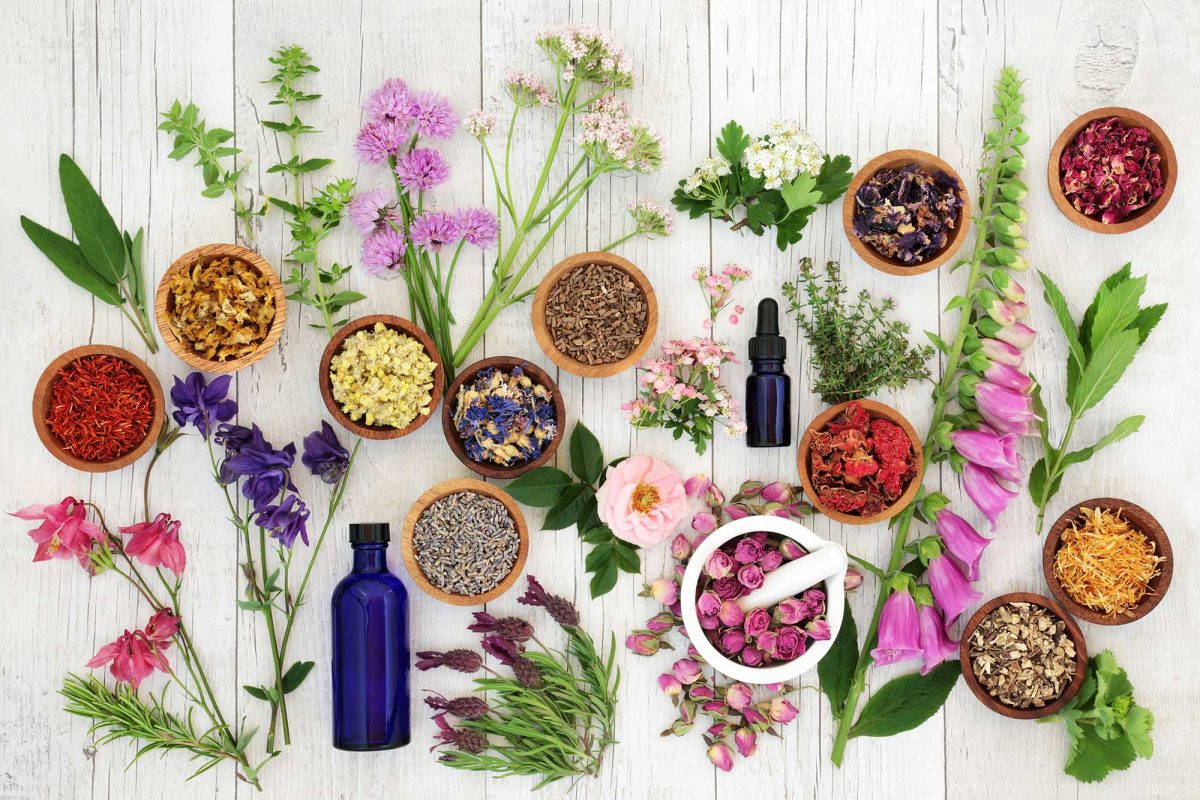
CREATIVE WAYS TO BRING FLOWERS INTO YOUR HOME
Bring the beauty of spring into your home by drying and pressing flowers as a family! Crafting projects are a perfect way to get quality time with the kids while also creating new and original home décor. Here, we are taking you through some of our favorite spring-inspired projects for family fun. First, we share some of the best methods to dry or press flowers, then we list ways to get crafty with the finished products.
How to Dry Flowers

Air drying flowers is a wonderful way to get the most out of your flowers’ life span, allowing you to make a lovely arrangement, wreath or even homemade potpourri (if you think you will want to create potpourri with your dried flowers, scroll down).
Air drying works best for larger, fuller flowers, like those you would find in a bouquet. If you are collecting your own flowers, pick them just before the bloom completely opens, or when they appear slightly immature. The flower will continue to open as it dries, and a full blooms’ petals may fall. Roses, celosia, strawflower, baby’s breath and globe amaranth are all wonderful options.
To begin, strip excess leaves from the flowers and stems, and cut the stems as you see fit, but make sure the stems are no shorter than six inches. As you undergo this process, place your flowers in water to avoid wilting. Once the flowers are cut and ready, dry them gently and begin tying small bundles together with rubber bands. The next step is to bring the flowers to your drying space.
Your drying space needs to be a dark and dry area with circulation—an attic or empty closet is ideal. Using string, thread or even unscented dental floss, secure the flower stems to a hanger so that they hang upside down. Leave the flowers for two to three weeks until completely dry.
While air drying is the more organic and cost-free method, microwave drying is also an option, and it will give you dry flowers in a day! You will need Silica gel, or Silica gel beads, which are available at craft stores. You will also need a microwave-safe container that you are okay to not use for food again after the project.
To dry flowers in a microwave, you will begin the same way you would with regular air drying, by cutting the flowers and getting rid of excess foliage. After getting the flowers ready, you need to fill a microwaveable-safe container with one to two inches of Silica gel. Then, place flowers blossom-up in the gel. Once flowers are placed, gently pour more gel over the petals until the flowers are covered, using your hands to ensure the flowers are not damaged. After flowers are fully submerged in the gel, place the uncovered container in the microwave and start microwaving, checking the container every 30 seconds for 2–5 minutes (time will vary according to the type of flower).
Once you see that the flowers have dried, open the microwave and cover the container immediately. Once you have taken the container out of the microwave, open the top of the container half a centimeter to allow slight air flow, and let it sit for 24 hours. After 24 hours, open the container and clean the Silica gel from the flower petals using a cotton swab or paint brush.
Preserve air-dry or microwave-dry flowers further by spraying them with unscented hairspray, and keep them in cool areas away from windows. Be sure to not use this container for storing food in the future.
How to Press Flowers
Pressing flowers is another great way to preserve flowers and get crafty. While more robust flowers are ideal for air drying, flowers with a flatter face and one layer of petals are best for pressing. Some of our favorite flowers for pressing are cosmos, pansies, verbena, Virginia bluebell tulips, perennial geraniums and forget-me-nots, but many others will do. The best time to collect the flowers you would like to press is in the afternoon, when dew has evaporated and the flowers are relatively dry.
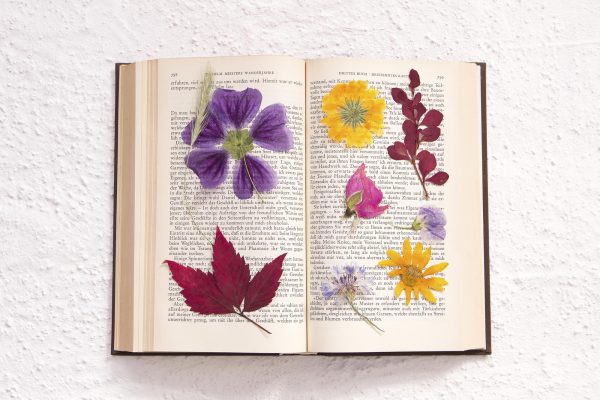
To begin, cut the stems of flowers close to the base, or as short as you desire. One method to press flowers is to simply place the flowers facedown in a large and heavy book. You will want to place the flowers between blotter sheets so the moisture does not seep into the book (parchment paper, printer paper, non-treated tissues, or even ridge-free coffee filters will do), and you also want to place the flowers so that they are not touching. You then close the book and let the flowers stay there for 10 days. We recommend checking the flowers every 2–3 days and potentially changing the blotter sheets to avoid molding. Moisture may still seep into the pages of the book, so if you fear damage in the book, we have another method for you.
The best time to collect the flowers you would like to press is in the afternoon, when dew has evaporated and the flowers are relatively dry.
Blotter Sheet Flower Sandwich: Lay out a piece of parchment paper on a hard and flat surface, and place your flowers on the paper. Put another layer of parchment paper on top of your flowers, and then place a heavy book, or a couple of books, on top of the paper. Leave the flowers where they are for two weeks, but do check and change the outer parchment paper layer every two days to avoid moisture and mold.
Be very careful when moving the flowers once dry.
Two Projects Using Dried Flowers
There are many different and fun projects when it comes to dried flowers, but two of our favorites are making your own signature arrangement and homemade potpourri!
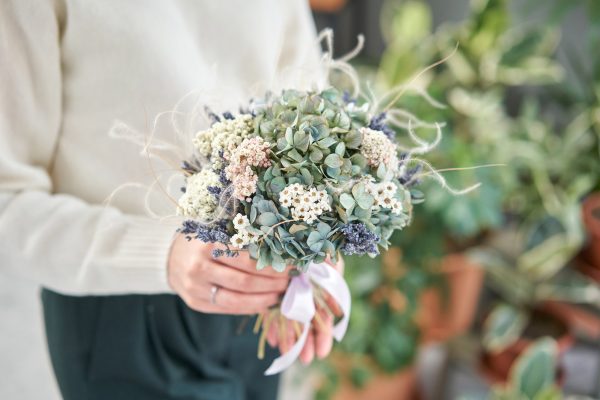
A dried flower arrangement is the perfect spring home décor, creating a wonderful and rustic aesthetic. Get your favorite vase ready and start going to work! Some drops of your favorite essential oils are a special touch to enhance fragrance, and we recommend adding some grass, leaves or even some fresh flowers to make the arrangement pop.
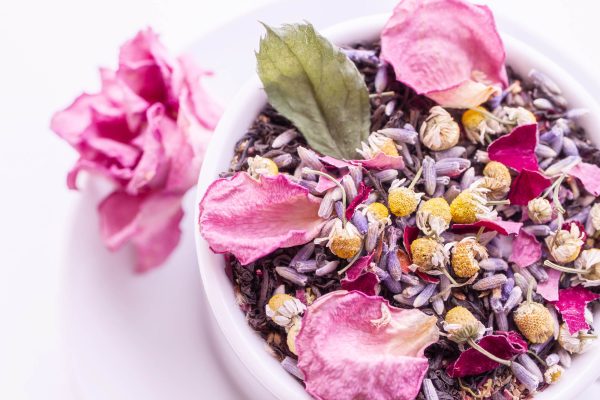
Use your newly dried flowers to create a beautiful and fragrant accessory for your home—homemade potpourri. All you need is your dry flowers, a mason jar or airtight container, and then essential oils and spices of your choosing. We recommend putting some oils and spices into a jar when you begin the flower drying process, letting it stay sealed for the two-week period. The time will allow the aromatic elements to fuse, and this is also where you have free rein to make the scent as personalized as you want. Some good additives are lemon slices, cinnamon sticks, thyme, mint, vanilla pods, seeds, pine cones, dried berries, dried greenery or cedar bark. Once the flowers have dried, add them in the mason jar as well as a few more drops of essential oils and mix lightly. We also recommend adding a fixative to the mix, like orris root, to ensure your fragrance lasts before pouring all contents in your favorite decorative bowl.
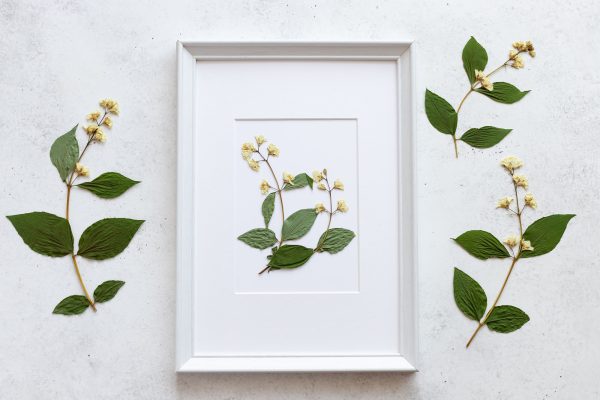
Two Project Ideas Using Pressed Flowers
Pressed flowers are perfect materials for art projects. They can be added into scrapbooks or used to make bookmarks! A fun family project is to have everyone in the house make their own piece of art. Everyone receives a large piece of paper, and each member of the family gets to create his or her own masterpiece, gluing and positioning flowers as they wish. You can even have watercolors and colored pencils as optional materials, so everyone can make their ultimate springtime piece. Once finished, place each person’s work between two panes of glass and display them throughout the home.
A more scientific, yet still artistic, option is to create a scrapbook of flowers. You can have the kids glue the flowers into a book, and help them write the names of each flower, and you can even have them draw their own version of it on the facing page. Anyway you do it, pressed flowers can be the foundation of many creative and exciting activities.
We hope the energy of spring will flood your home with these fresh family projects. Take a photo and post it on Instagram with the hashtag #myprojectwithCharlottesvilleFamily to let us know how you stopped and smelt, and air dried or pressed, the flowers of spring.
a fourth year student at the University of Virginia, loves capturing the beauty of Charlottesville.

